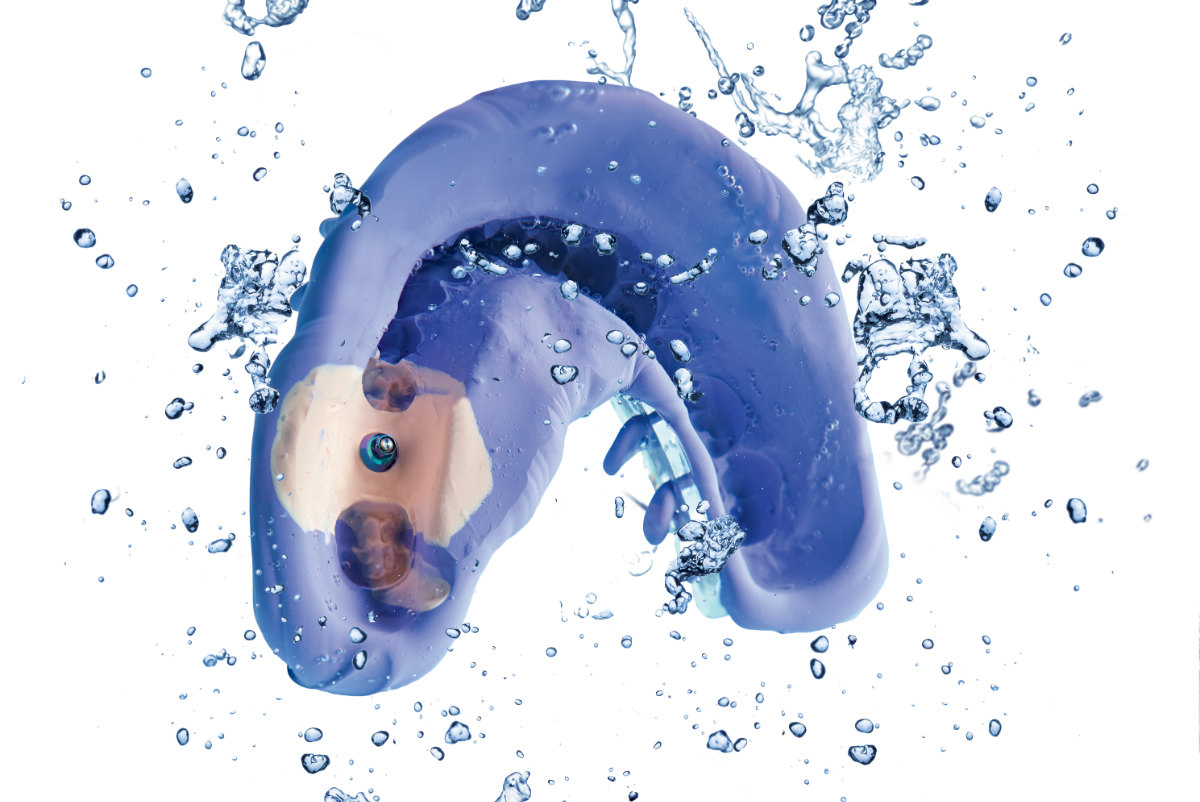
In the field of implants, taking a precision impression features differences: it is necessary to detect the anatomical details to convey this information to the technician.
As regards the implant, it is vital to indicate the position of the fixture to allow the laboratory to create the prosthodontics superstructure correctly. Firstly, it is naturally necessary to remove the healing cap from the dental implants. The first step consists in positioning the transfers, which are screwed to the implant.
In implantology, the main techniques used to take the impression can be referred to indirect, since they make use of transfers. Within this large family, we can distinguish between pick-up techniques and repositioning techniques.
Repositioning
In the latter, a non-perforated impression tray is used, and the impression material used is generally a polyvinylsiloxane owing to its outstanding ability to detect details.
The elastomer is applied around the base of the transfers using a syringe, to fill the spoon, which is subsequently introduced in to the mouth.
In repositioning techniques, once the material has set, the impression is removed from the patient’s mouth and the transfers remain screwed onto the implant in the oral cavity, and are then unscrewed and repositioned inside the impression itself thanks to certain references on the transfers, made for the specific purpose of simplifying this stage.
Pick-up
On the other hand, in the pick-up technique, a perforated impression tray is used, from which the transfers protrude, thereby allowing them to be unscrewed once the impression material has set; this guarantees that upon removal of the impression from the oral cavity, the transfers remain “trapped” in the impression just taken.
This technique lowers the risk of errors during repositioning, which would then affect the prosthodontics construction phase in the laboratory. What’s more, this method is beneficial in the case of particularly long, slanted and diverging transfers. In this case, too, it may prove very important to join the transfers with a low-shrinkage resin so as to solidify them and minimise micro-movements.
Irrespective of the technique used, two precautions should be taken:
- Perform an X-ray to check the correct positioning of the components, since the transfer or the abutment on which the impression is taken is situated beneath the gingival margin, thereby impeding the direct vision of the correct engagement of the parts.
- Use vinyl gloves when using polyvinylsiloxane to prevent the delay in the impression material setting caused by interaction with latex gloves.
Do you want more information on Zhermack Dental products and solutions?
Contact usTags
implantology

 Zhermack SpA has been one of the most important producers and international distributors of alginates, gypsums and silicone compounds for the dental sector for over 40 years. It has also developed solutions for the industrial and wellbeing sectors.
Zhermack SpA - Via Bovazecchino, 100 - 45021 Badia Polesine (RO), Italy.


