A temporary restoration is a temporary device made to improve the aesthetics, stability and function of a tooth. It is used between the preparation of the tooth and the placement of the permanent restoration.[1]
There are three main techniques for making temporary restorations: direct, pre-filling indirect and post-filling indirect.
Of the various direct techniques, the most commonly used is that in which the temporary restoration is fabricated using an impression.[2]
Characteristics, benefits and disadvantages
The technique of preparing a temporary restoration using an impression is an extremely useful and practical one, as it makes it possible to fabricate the patient’s temporary restoration at the chairside, without having to make further appointments. This technique also eliminates a laboratory step and the consequent costs, and therefore saves both time and money.
When carried out properly, it is a technique that enables the fabrication of accurate temporary restorations, with good marginal precision, that do not require relining or many occlusal corrections before they can be cemented.
It should also be pointed out that it is a technique that can only be carried out in clinical cases in which the tooth to be restored, initially (before the preparation phase), has a correct coronal morphology and in which there are no intermediate (pontic) teeth, as in the case of a bridge.
In addition, as the technique involves fabricating the temporary restoration directly on the patient’s tooth stump(s), it brings certain disadvantages such as greater exposure of the prepared tooth to potential traumas due to the increase in the temperature of the resin or the release of free monomer (if present in material used).
It is therefore necessary to choose the most appropriate material, preferring materials with limited exothermic reactions and that do not contain potentially-irritating free monomers.
The procedure for preparing temporary restorations at the chairside
We will now focus on the procedural clinical sequence of this technique (2).
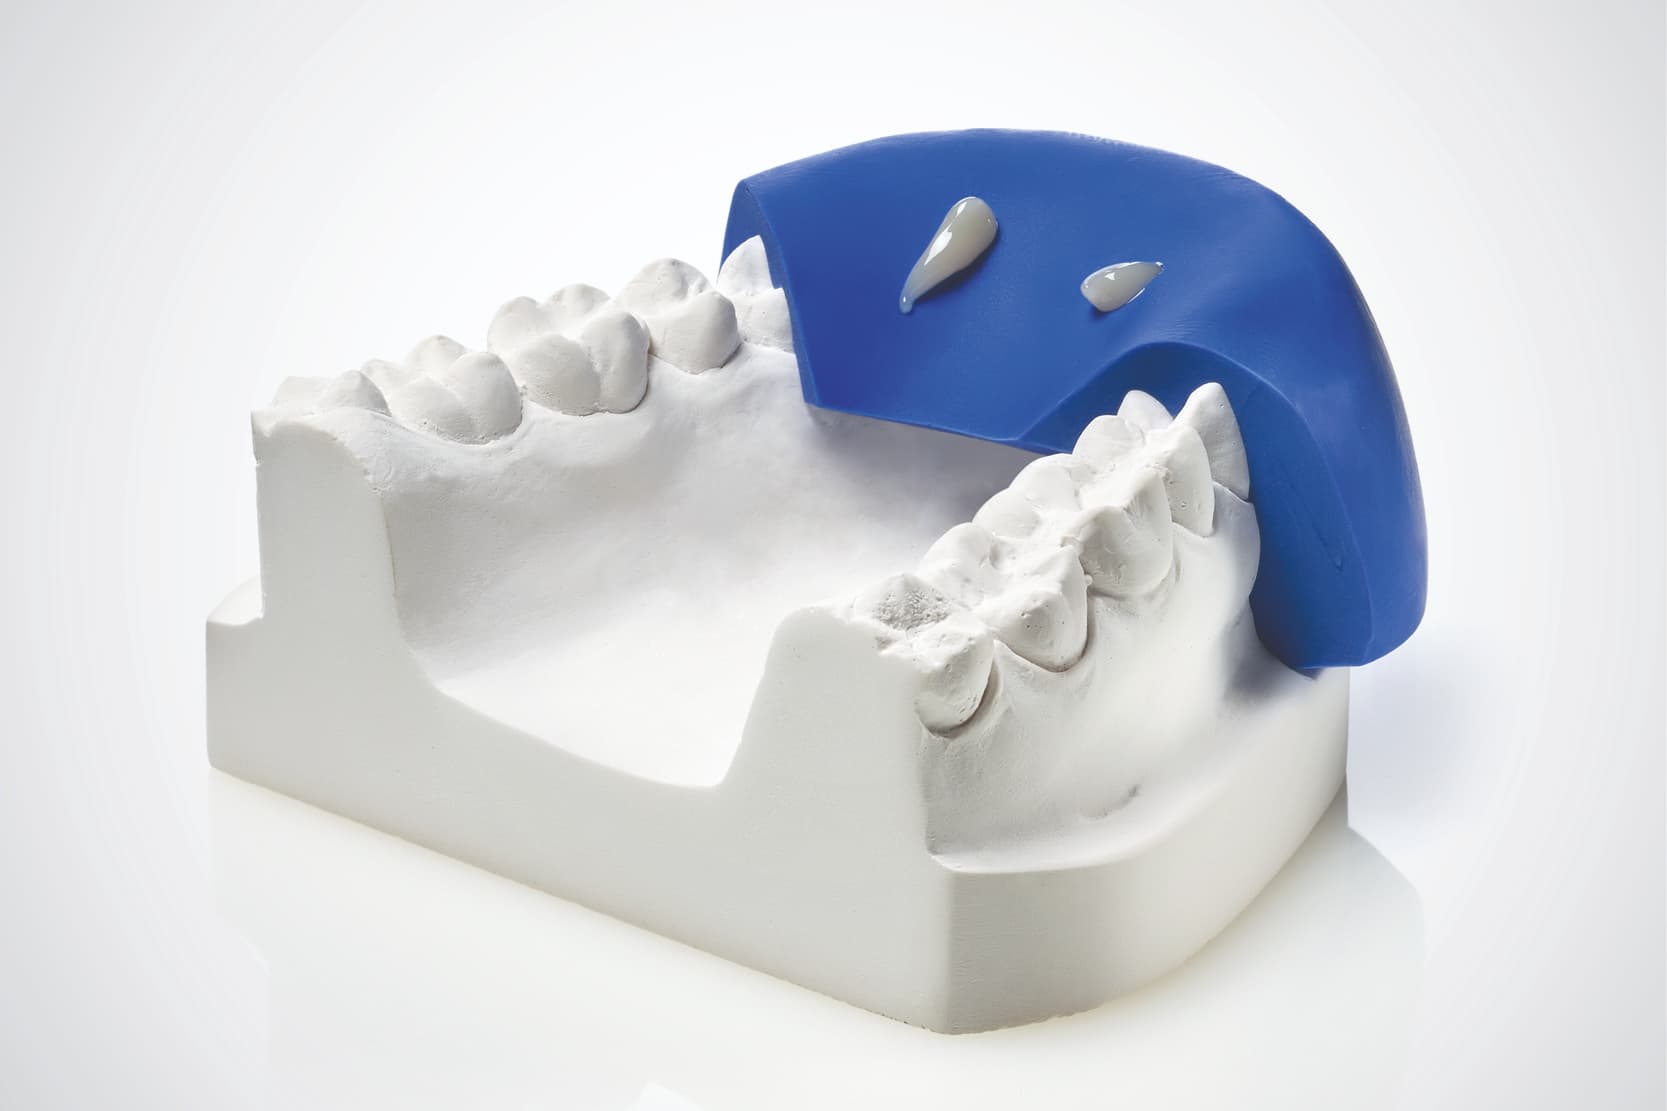
- Take the preliminary silicone impression.
- Remove any undercuts from the impression to allow proper repositioning.
- Prepare the stump or stumps.
- Isolate the area of interest using glycerin.
- Place the resin inside the impression.
- Reposition the impression.
- While the resin starts to show a plastic behaviour, remove any excess and check that there are no undercuts by repeatedly removing and repositioning the temporary restoration with the impression.
- Wait for complete curing.
- Remove the temporary restoration from the impression.
- Immerse the temporary restoration in hot water for 5 minutes to complete curing.
- Finish the temporary restoration.
- Clean the stump.
- Cement the temporary restoration.
Closing comments
The technique of fabricating a temporary restoration using an impression brings a number of advantages, including the possibility of not having to involve a dental laboratory for the intermediate processing steps, thus shortening the overall time needed to complete the work, and doing away with the need for a series of practice appointments.
Choosing the right material is therefore fundamental for avoiding complications.
References
[1] The Glossary of Prosthodontic Terms: Ninth Edition. J Prosthet Dent. 2017 May; 117(5S):e1-e105. DOI: 10.1016/j.prosdent.2016.12.001. PMID: 28418832
[2] Garg, P., Ravi, R., & Ghalaut, P. (2021). Outcome of Provisional Restorations on Basis of Materials and Techniques of Choice: A Systematic Review. Restoration, 3(1), 6-15.
Do you want more information on Zhermack Dental products and solutions?
Contact us