In a dental surgery, all medical devices that come into direct contact with people and which may cause bleeding or small lesions of the dermis or mucous membranes must undergo sterilisation after each use.
The objective is to prevent the transmission of infectious diseases among patients and surgery and laboratory staff, and vice versa. Since there are no patients at “special risk”, anyone gravitating around the clinic is considered to be a potential pathology carrier, until proven otherwise. This is why the standard of hygiene must be the same for all patients and dental surgery staff.
Although the same procedure is applied to all patients, particular attention should be paid to four important elements that are deemed to be especially critical:
- The cleanliness and hygiene of the clinic’s medical and paramedical staff’s hands
- Contaminated pointed or sharp tools
- Surfaces more exposed to contact with biological material.
- Fragments of dental materials, biological liquids and spray produced by surgery tools
Before proceeding with the surgery tool sterilisation protocol, you need to know the degree of infective risk of the device that requires repeated maintenance and preparation; indeed, there are tools which, when they come in contact with the skin or mucous membranes, have three degrees of criticality:
- Not critical: in contact with unbroken skin or mucous membrane
- Semi-critical: in contact with broken skin or mucous membrane
- Critical: penetration and contact with the blood
Once you have understood the importance of the above assumptions, we can proceed and draft a step-by-step guide for the disinfection and sterilisation of dental surgery tools:
- Collection and transportation: always wear the appropriate Personal Protective Equipment to collect and transport tools and use containers that protect both the product during transportation and the driver against accidental contamination
- Decontamination: tools must immediately be immersed in a tray containing a chemical disinfectant solution, making sure you carefully observe the concentration and the product activation times.
- Washing: tools are carefully disassembled and soaked in a detergent-disinfectant solution/formulation. After soaking, tools should be brushed, using delicate brushes to remove any residue of organic and inorganic substances. Washing can be carried out manually, or with the help of an ultrasonic bath.
- Rinsing: tools can now be rinsed under a jet of running water to remove all the disinfectant.
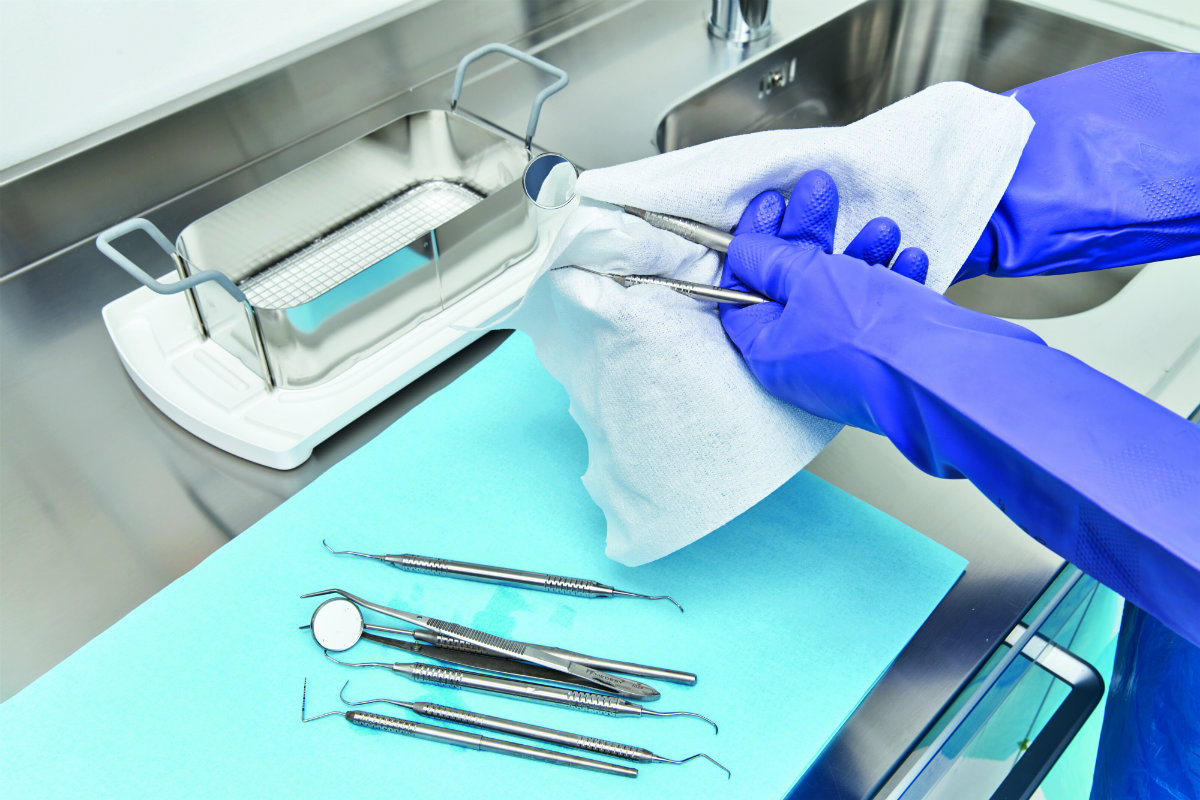
- Drying: this step must be performed accurately because a damp instrument could compromise the subsequent sterilisation process.
- Packaging: this consists in the insertion of the medical devices in a sterile pack (referred to as an SBS, or sterile barrier system) and its purpose is to keep the tool sterile until it is used. Some tools may not be packaged, provided that they have a degree of criticality I and that they are used within twenty-four hours.
- Autoclave: tools are introduced into the autoclave and are sterilised by selecting the appropriate programme; during this step, all the micro-organisms (including spores) which remained on the tools after the previous steps are neutralised definitively.
- Storage: at the end of the sterilisation cycle, it is important to make sure that there are no traces of moisture on the material. Thereafter, all the sterile medical devices can be stored in dry and closed places to ensure they remain intact.
During all the stages of the disinfection and sterilisation process, it is extremely important to wear PPE, i.e. Personal Protective Equipment (disposable gown, cap, masks, goggles/visor, gloves).
Articolo a cura di Stefania Barbieri
Do you want more information on Zhermack Dental products and solutions?
Contact us

 Impression Technique")