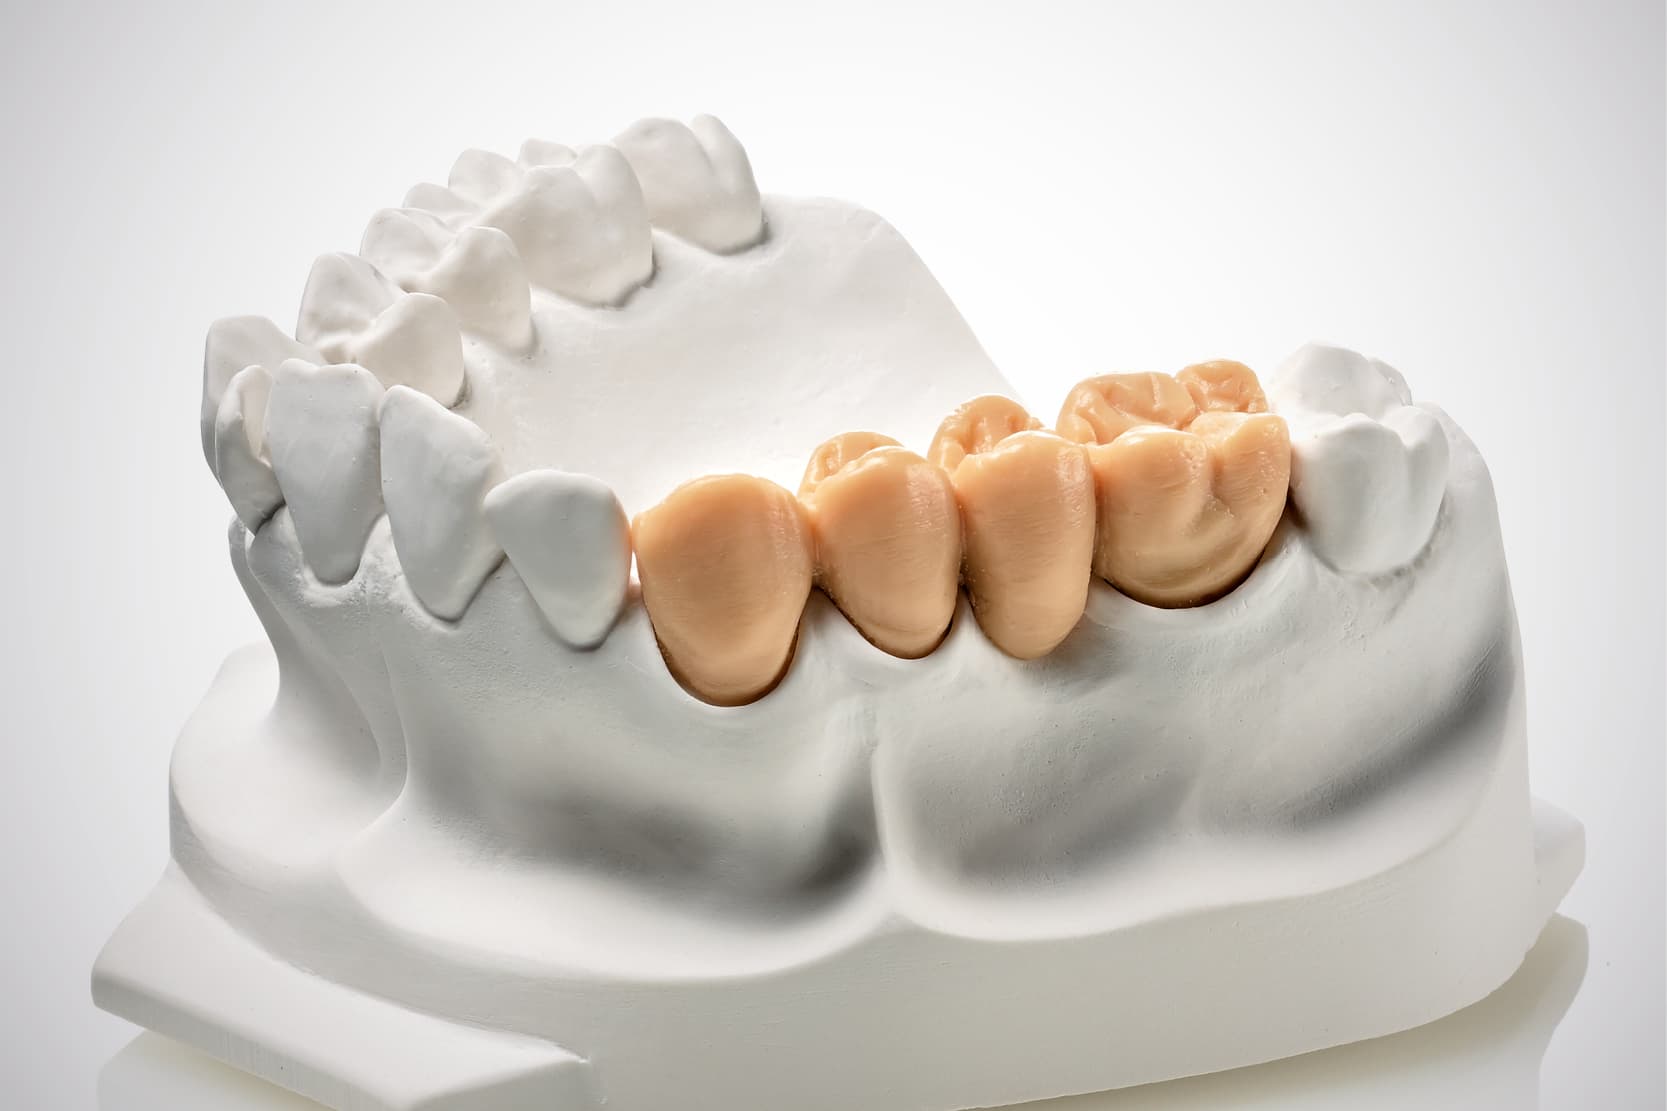
The Casartelli (or Bridge Guide) impression technique is best suited to fixed prostheses, clinical cases in which correct reproduction of the preparation margin is complex or when other previously used impression techniques have failed.
We will now focus on why this technique was developed, its advantages and the procedure for its proper application.
The need for a minimally-invasive solution
Suitable impression extension in the gingival sulcus and preparation margin area is an essential requirement for obtaining a prosthetic rehabilitation that is biologically faithful and has a correct emergence profile.
Impressions for juxta- or subgingival coronal preparations must always exceed the preparation line and reproduce the subgingival coronal surface apical to it. (1) This impression extension can be obtained by using a physical medium to temporarily divaricate the gingival sulcus in order to create a gap that will then be filled by the impression material. (2)
Although there are various techniques – both unit-guided and unguided – and various products with which to capture the preparation margin when taking impressions, they are often aggressive for the soft tissues and can result in damage to the supporting tissues. (1.3).
It was precisely to offer the most minimally-invasive solution possible that Dr Casartelli devised the bridge guide impression technique or “Casartelli technique”, which has been modified several times since.
The advantages of the Casartelli impression technique
The Casartelli technique makes it possible, with a certain degree of repeatability, to faithfully capture the apical area at the preparation margin without the risk of damaging the supporting tissues.
The Casartelli impression technique combines a unit-guided and an unguided technique, and it is based on the principle of triple-mix impressions, where three elastomers of different viscosities are used in two different steps.
The Casartelli technique step by step
The procedure for impression-taking using the Casartelli technique is described below (1).
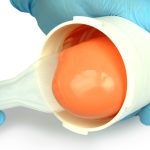
- Fabricate an unfinished duplicate of the patient’s existing temporary prosthesis; this will act as a miniature individual spoon, with the purpose of recording the prosthetic posts correctly;
- hollow out the inside of the duplicate without excessively weakening the external structure;
- apply an acrylic resin to the margin of the duplicate, position it in the patient’s mouth and ask the patient to bite down to obtain maximum intercuspation. The purpose of this step is to improve the extension of the margin of the duplicate in relation to the position of the gingival sulcus;
- wait for the resin to set;
- perform another duplicate margin-defining step with the resin to further improve extension;
- wait for the resin to set;
- having obtained the correct extension of the margins of the duplicate, once they have been identified, use a pencil to mark the inner edges of the sulcus in order to avoid touching them in the subsequent steps;
- ream the inner surface of the duplicate again, removing the resin that has oozed inside, to make space for the impression material;
- remove the part coinciding with the edentulous saddle;
- position the bridge guide with a certain amount of acrylic resin at occlusal level and, invite the patient to close together, to obtain an occlusal key that is useful for checking the correct position and guaranteeing the stability of the bridge guide when the impression material is injected inside it;
- at vestibular level, make holes in the duplicate for the elastomer syringe tip to pass through.
The actual impression-taking process starts at this point:
- apply the bonding agent to the inner surface of the duplicate;
- fill the hollowed out crowns of the duplicate bridge with heavy body material and at the same time fill an elastomer syringe with heavy body material;
- position the bridge and have the patient close the mouth together using the key obtained previously with the acrylic resin;
- using the syringe, inject a further amount of heavy body material until it starts to overflow the margins of the bridge;
- wait for the material to cure;
- mix an addition silicone with a putty consistency, load an impression tray and simultaneously prepare an addition silicone with a regular consistency;
- inject the regular material over the whole arch starting from the bridge guide;
- position the impression tray loaded with the putty to take the overall impression incorporating the regular material and the bridge guide;
- wait for the material to cure, then remove the impression tray with the regular material, the bridge guide and the heavy body material incorporated in it.
Conclusions
Although undeniably complicated, the Casartelli technique makes it possible to correctly capture the preparation margin and its apical portion with great repeatability and precision, without having to use far more aggressive gingival margin retraction systems.
This technique has been modified several times over the years and simplified variants of it have been devised.
The bridge guide or Casartelli technique and its variants can be used to obtain impressions with an excellent extension, able to provide dental technicians with correct information on the preparation margin, thus simplifying the fabrication of a biologically and aesthetically appropriate prosthesis.
Bibliography
- Gherlone, E. L’impronta in protesi dentaria, Edra, 2017
- Bonino, M., De Vico, G., Spinelli, D., Conti, I., Ottria, L., & Barlattani, A. (2010). Mini-invasive impression techniques in fixed prothesis: an alternative to traditional procedures. Oral & implantology, 3(2), 20.
- Bennani, V., Inger, M., & Aarts, J. M. (2014). Comparison of pressure generated by cordless gingival displacement materials. The Journal of prosthetic dentistry, 112(2), 163-167.
Would you like information about Zhermack products and dental solutions?
Contact us

 Zhermack SpA has been one of the most important producers and international distributors of alginates, gypsums and silicone compounds for the dental sector for over 40 years. It has also developed solutions for the industrial and wellbeing sectors.
Zhermack SpA - Via Bovazecchino, 100 - 45021 Badia Polesine (RO), Italy.


