Final impressions, also known as precision impressions are the final act in prosthetic rehabilitation therapy before the creation of the prosthetic product by the dental technician.
A correctly obtained impression, without voids, stretching or distortion, as well as being an excellent business card from the dentist to the dental technician, is a fundamental requirement for obtaining a precise and accurate final prosthesis.
A prosthesis that is accurate and precise at the preparation margin has a better prognosis, because it is here that the majority of the causes of prosthesis failure, such as secondary cavities or periodontal problems due to the build-up of plaque, occur. Precision along the preparation margin must be absolute and the gap between the preparation and the crown must never exceed 200 µm in order to be clinically acceptable. (1)
Whenever the dental technician finds a defect in an impression, the only possible course of action is to try and guess the shape of the tooth and preparation, with consequences that are easy to imagine.
Various techniques are used to obtain impressions, each of which presents pros and cons.
First and foremost, a distinction must be made between impressions on natural teeth and impressions taken on implants.
Discover the Zhermack impression materials catalog
Impression-taking on natural teeth
Simultaneous technique
In order to expose the preparation line margin by displacing the gingival margin, it is first necessary to position either one or two retraction cords, depending on the position of the preparation margin, the thickness of the free gum and the dentist’s preferences.
At the same time:
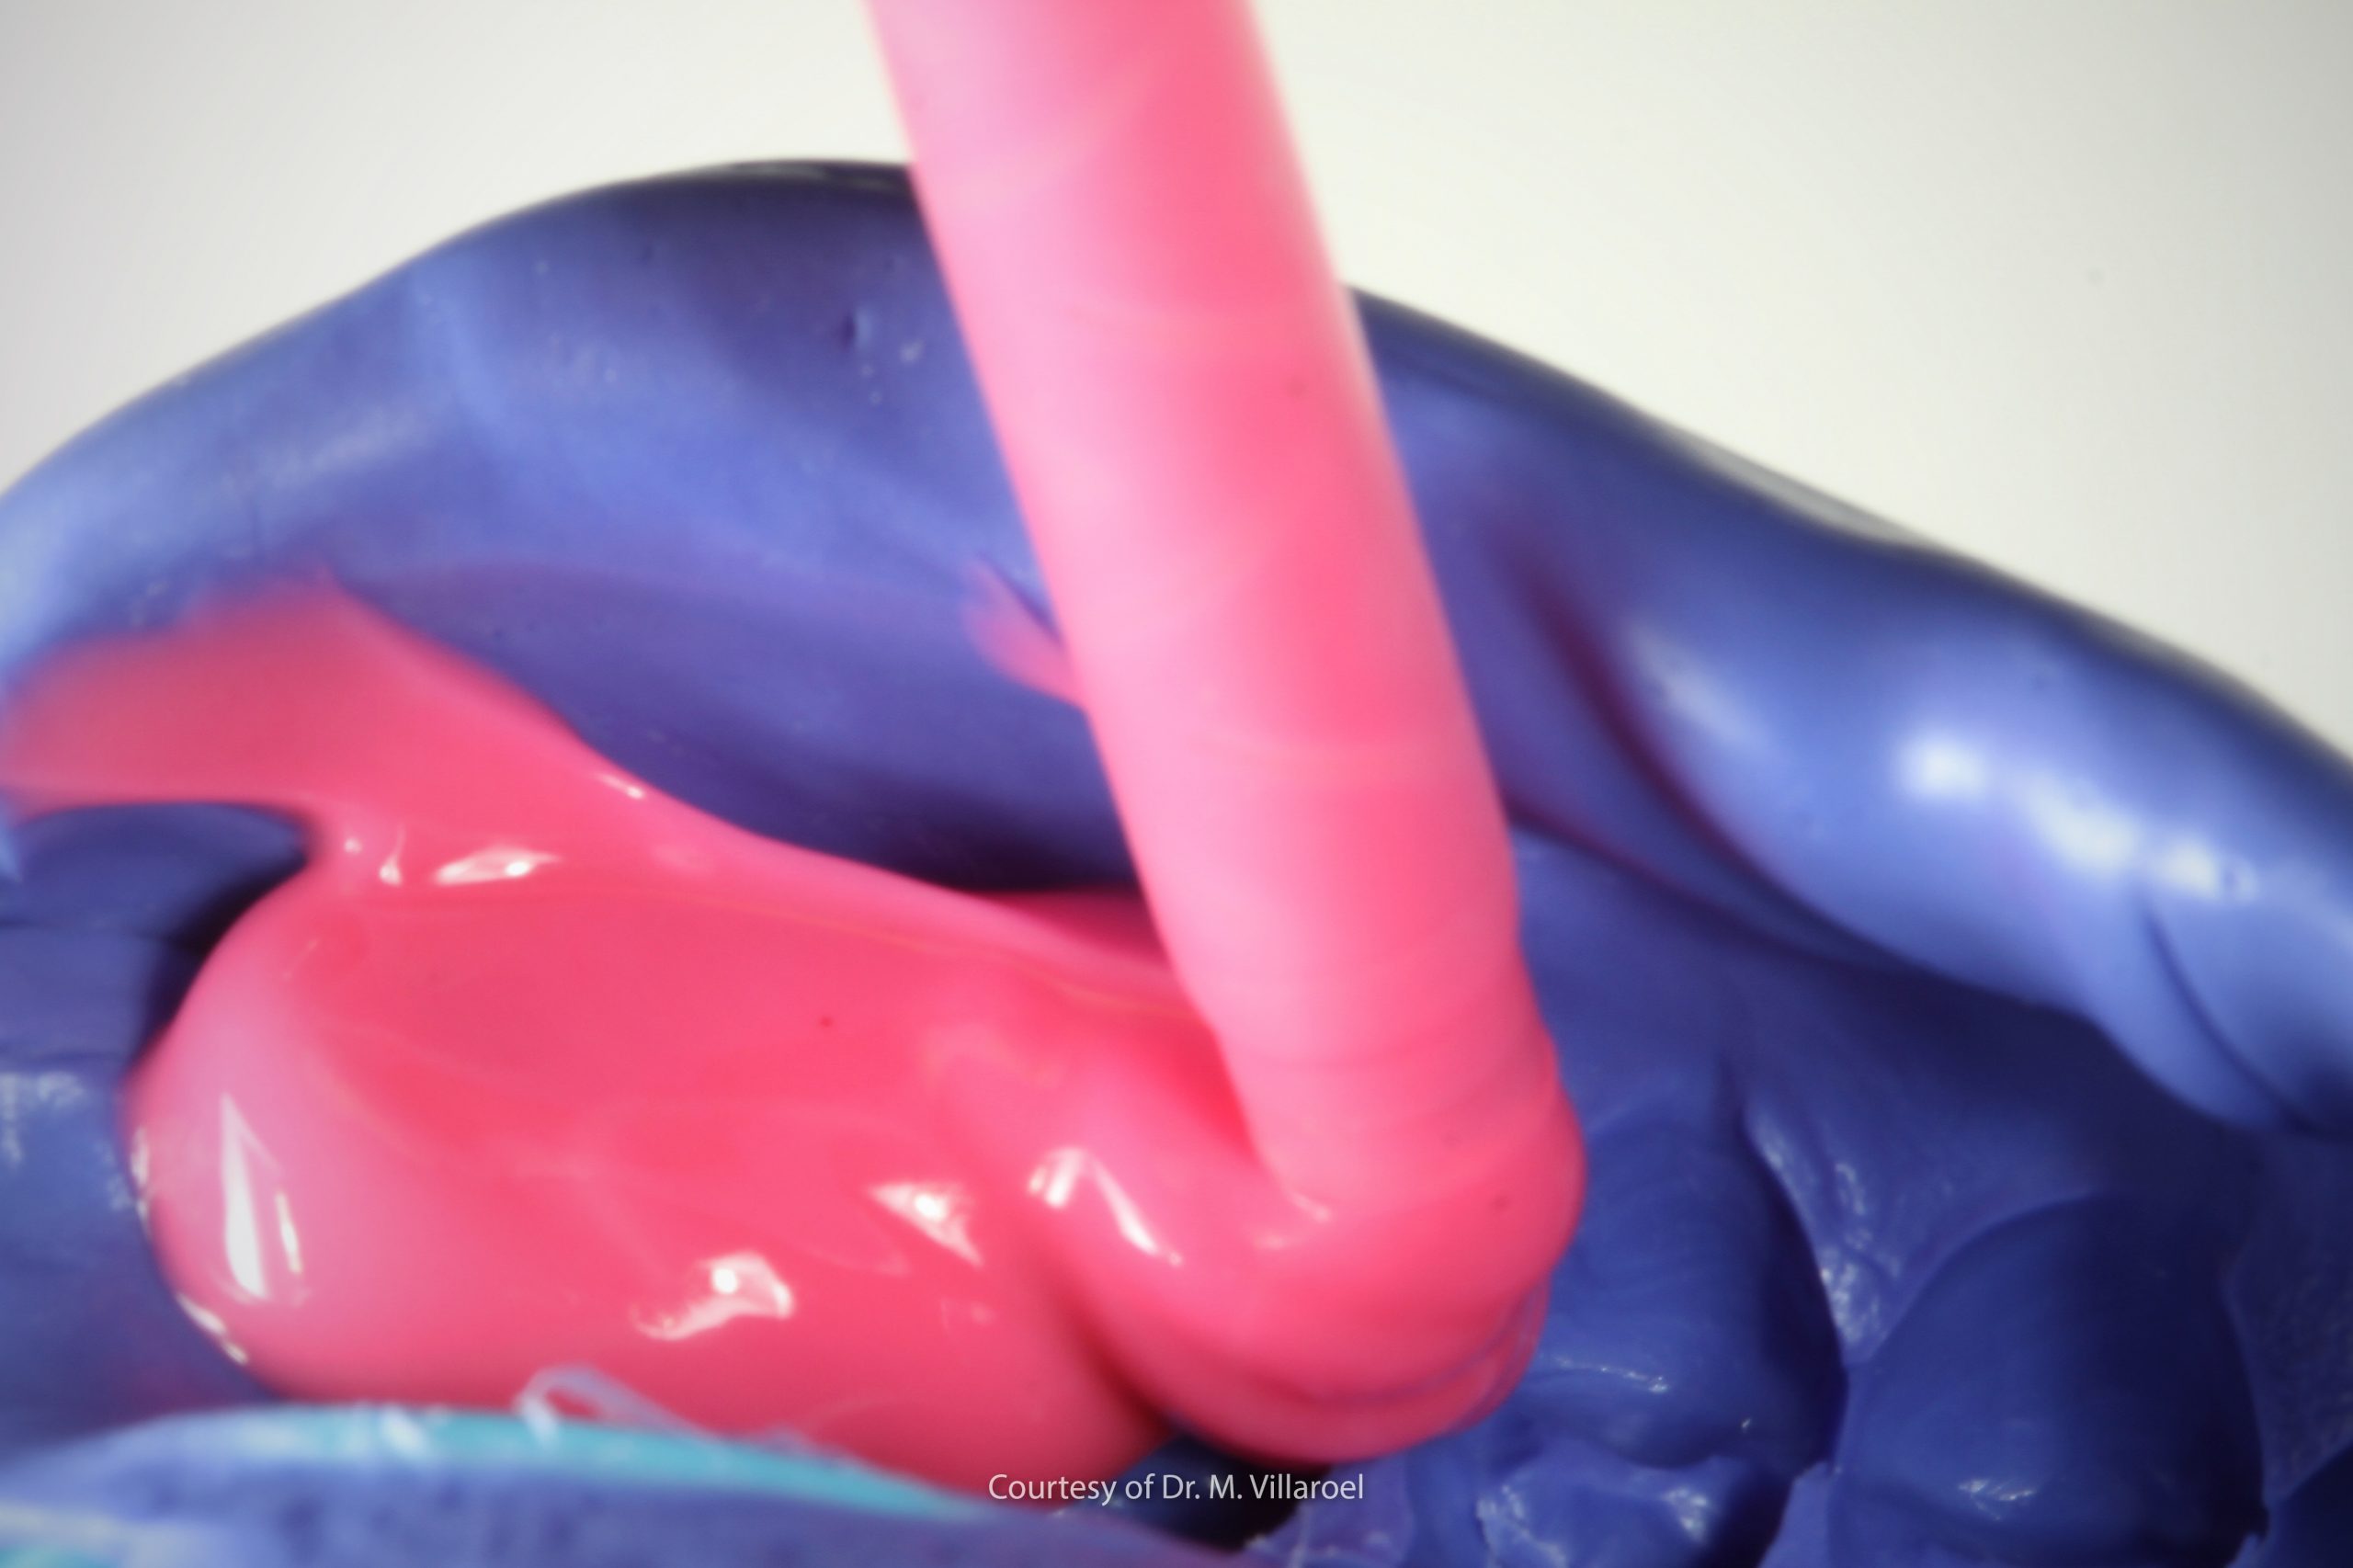
- the dentist starts to position the lower-density material on the tooth stumps, taking great care to position it correctly along the preparation margin and in those points in which the precision must be greatest.
- the assistant starts to mix the higher-density material and place it in the impression tray.
Before the working time ends, the assistant passes the dentist the impression tray filled with the higher-density material.
Applying constant pressure, the dentist positions the filled impression tray and holds it in place until the end of the setting time.
This is the fastest technique, because it only involves one impression time. However, it often (if the two materials have the same setting time) requires the presence of another person to mix the higher-density material and fill the impression tray. It is also necessary to choose two compatible densities, as if the densities of the two materials are too different, the high-density material will tend to completely displace the low density material, which usually offers greater surface detail reproduction.
Two-step technique
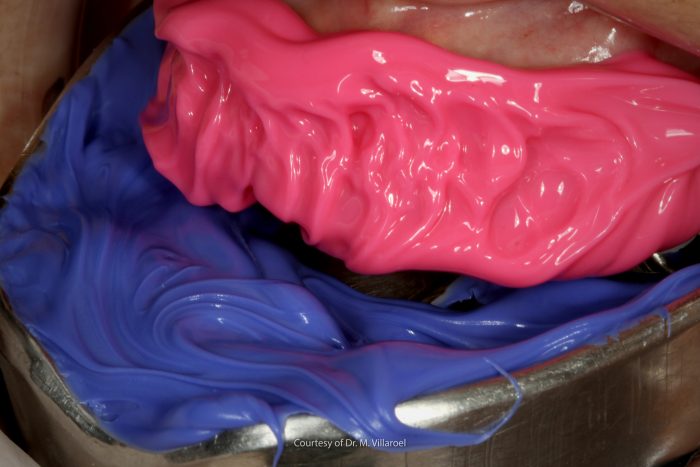
In this case, the dentist obtains a first impression using a high-density material (heavy or putty). He subsequently modifies the first impression by eliminating any undercuts present. The passivity of the impression is then tested (it must be possible to reposition the impression correctly in a passive manner) and it is washed and dried to allow the adhesion of the low-density material.
During this phase it is necessary to position either one or two retraction cords, depending on the technique to be adopted.
It is now time for the second impression. At this point, the dentist places some low-density material inside the first impression, fits the intraoral tip onto the mixing tip and starts to position the lower-density material on the tooth stumps, taking care to position it correctly along the preparation margin and in those points requiring the greatest precision.
Applying constant pressure, the dentist positions the filled impression tray and holds it in place until the end of the setting time.
The advantages of the two-step technique are its extreme precision (2) and the control of the low-density material, which will occupy the spaces left after the modification of the first impression. It can also be performed conveniently by a single person. The main disadvantage is the longer time required, as there are two impression times, and we also have the first impression correction phase that, performed incorrectly, could lead to errors during the positioning of the second impression, with consequences for final precision.
Impression-taking on implants3
The purpose of impressions on implants is to record the three-dimensional position of the implant and transfer, in order to send the correct information to the dental laboratory for the production of the prosthesis. Once again, it is possible to make a distinction between two main techniques.
Impressions are usually taken on implants using a simultaneous technique, but that differs with regard to two characteristics.
Pick-up technique
The dentist screws the transfers on to the implants For this kind of impression, the transfers have to be very long, because they must protrude from the impression tray and remain incorporated in the impression material. Once the impression material’s setting time has ended, the transfers are unscrewed with the impression tray still inside the patient’s mouth. Once the transfers have been unscrewed, it is possible to remove the impression tray. It is necessary to use a commercial plastic or custom resin impression tray with holes for the transfers.
The advantage of this technique is its precision; however, it has the disadvantage of requiring the cooperation of the patient who must be able to open his mouth wide (due to the length of the transfers and the screwdriver) and it is also unsuitable for use in the presence of implants that are not parallel to one another.
Snap impressions
For this type of impression, the transfers remain screwed into the implants even after the impression has been taken. As a matter of fact, once the material has cured, the impression is “snapped” out of the patient’s mouth. The transfers are subsequently unscrewed from the implants and repositioned inside the impression, taking great care to maintain the correct position.
The advantages of this technique include greater simplicity, less patient cooperation and good performance in the presence of implants that are not parallel to one another; however, it presents the disadvantage that the transfers may be repositioned in the impression incorrectly.
References
- Boeckler AF, Stadler A, Setz JM. The significance of marginal gap and overextension measurement in the evaluation of the fit of complete crowns. J Contemp Dent Pract. 2005 Nov 15;6(4):26-37. PMID: 16299604.
- Nissan, J., Laufer, B. Z., Brosh, T., Assif, D., & Maurice, T. (2000). Accuracy of three polyvinyl siloxane putty-wash impression techniques. The Journal of prosthetic dentistry, 83(2), 161-165.
- Flügge, T., van der Meer, W. J., Gonzalez, B. G., Vach, K., Wismeijer, D., & Wang, P. (2018). The accuracy of different dental impression techniques for implant‐supported dental prostheses: A systematic review and meta‐analysis. Clinical oral implants research, 29, 374-392.
Do you want more information on Zhermack Dental products and solutions?
Contact us


: the principles of dental preparation")